Viewing RiskTrees
Introduction
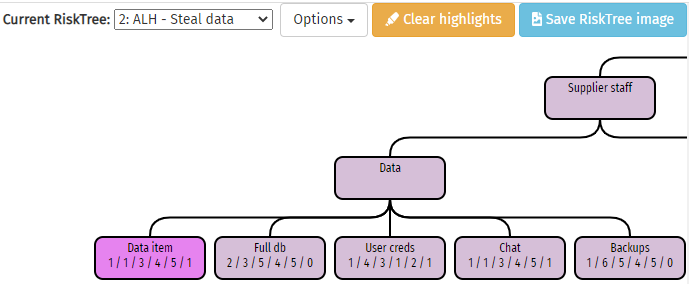
RiskTree reports show the actual RiskTrees used to generate the risk assessment, via the Risks tab.

The top of the tab will contain a drop-down selector listing all of the RiskTrees. Click on this to change the RiskTree shown in the main part of the tab.

The RiskTree can be moved about by clicking and dragging on the tree. When you hold the mouse down, the cursor will change to the multi-arrow cursor, indicating that it can be dragged. Move your mouse over the risks and countermeasures to view the context menus for these items. Unlike in RiskTree Designer, the trees are not editable and so the menu options are more limited. You can:
- View risk/countermeasure in table: switches to the Risk or Countermeasure table and highlights the row with information about the chosen item
- View notes/evidence: opens a dialogue box containing details of notes and evidence for the chosen item. If the item is a risk, this will also show any assessment value evidence and tags
- Hide/show risk: hides or shows the branch of the RiskTree with this node as its root
Options
The button allows you to customize the look of the RiskTree, rather like using the Settings in RiskTree Designer. The following options are available:
- Line of text on nodes: show either one or two lines of text on each node (depending on the length of the name)
- Highlight evidence: highlights risk assessment values on a node for which evidence is provided, using bold, blue, or underlined text
- Show node numbers: shows the number of each node in the top line
- Show risk IDs: shows the risk ID of the end nodes in their top line
Linking to the RiskTree
In the risk and countermeasure tables, each item will show a blue crosshair icon to the left of the name. Clicking on this will switch to the RiskTree tab, display the appropriate tree, and highlight the chosen node or countermeasure.

Clicking on the crosshairs for another item will clear the first highlight, so only one node is highlighted at a time. To clear the highlight without selecting another node, click on the button.
Printing the RiskTree
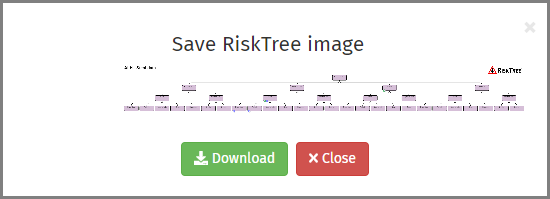
The RiskTree tab will not be included in printed reports, as trees are often too wide to print without being truncated. Instead, you can save the complete RiskTree as an image file by clicking on the button. This opens a dialogue box which contains a small copy of the tree ready for download. Click on the button to save the image file to your Downloads folder. The button closes the dialogue box without saving the image.

If nodes or countermeasures are highlighted on the tree, the highlight will not be present in the saved image file.