Using metadata in RiskTree Designer
Importing your metadata fields
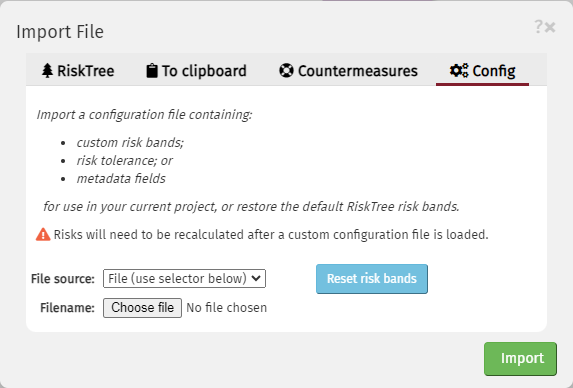
In order to use metadata fields in Designer, you first need to have defined your metadata fields in a configuration file. This is created using the Config Creator tool, and will be in JSON format. To import the fields, select from the menu, and click on the Config tab.

Click on the button to select the config file. If you already have metadata fields in use, you will see the message beneath stating "If the new config file contains metadata fields, add to the existing metadata fields in use in this RiskTree". You can use the selector here to choose whether the new metadata fields should be additional to the existing fields, or if they should replace them. To see a list of the existing fields, hover your mouse cursor over the words existing metadata fields.
If you replace the existing fields, the metadata associated with them will be retained on the nodes and countermeasures where they exist. They will only be removed when you save the file or pass it to the Processor. This allows you to reload the metadata configuration if the replacement was unintended.
Click on the Import button to import and validate the config file. If the import is successful then you will get a confirmation message; if it fails then an error message will appear.
Using metadata
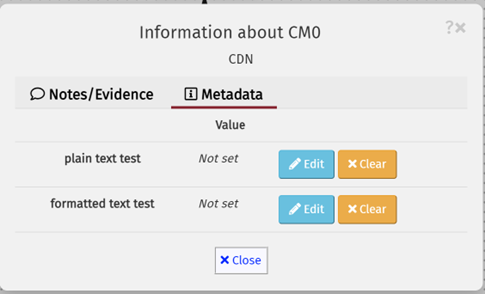
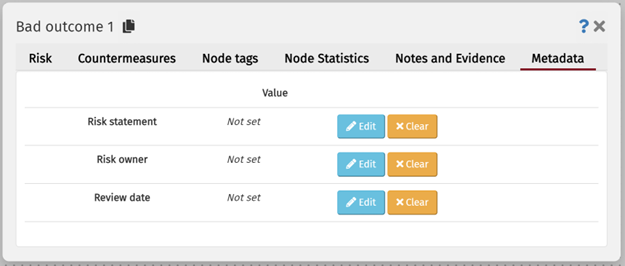
The metadata fields are accessed and edited by clicking on the metadata tab in the node editor or the Edit metadata option on the countermeasure menu. This will open the information editor with the metadata tab selected. Note that the symbol will change to once countermeasure has metadata entered.
| Editing metadata from the countermeasure | Editing metadata on the node editor |

|

|
The picture above shows the node information editor, but the countermeasure information editor is very similar.
The metadata tab shows the fields that apply to the selected node or countermeasure. Click on the button to edit the field. If the metadata type is formatted text then a separate editor will open (below, left), otherwise the editing will take place within the same tab (below, right).

When you have completed entering the metadata, click on the button. To cancel and lose any changes, click on the button. You can only edit one field at a time; clicking on another button whilst a field is being edited will not work.
Once you have made all of your changes to the metadata, click on the Close button.
Viewing metadata
Once risks have been calculated, the Risk table tab will indicate those risks with metadata by placing an icon in the Actions column. Clicking on this icon will open the information editor at the metadata tab, so that the metadata and their values can be seen.
