Node functions
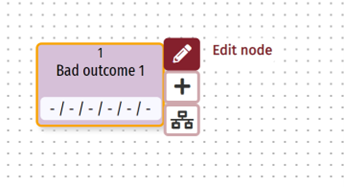
Edit node E

Opens the node editor where you can see and edit all aspects of the node. The full path to the node will be shown at the top of the node editor.
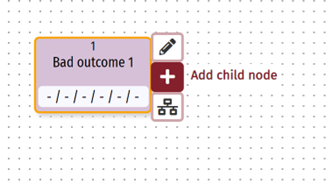
Add child node INS

Creates a new node at the level beneath the current node. The current node will lose any assessment values that have been assigned (although these will reappear if all child nodes are deleted). A pop-up box to set the name and assessment values for the new child node will appear.
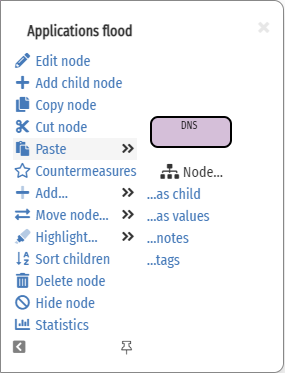
Node menuINS

Opens the node menu. The options that appear will depend on the type of node and the data held on the node.
View risk in table
Shows the information about the risk in the risk table below the RiskTree (in the tabbed area). The selected risk will be briefly highlighted in yellow.
Copy node C
Makes a copy of the current node and all its children (including countermeasures). NB: The copy will be deleted if any changes are made to the tree before it is pasted. Learn more…
Cut node X
Makes a copy of the current node and all its children (including countermeasures), and removes the original nodes. NB: The copy will be deleted if any changes are made to the tree before it is pasted. Learn more…
Paste node
Allows the contents of the RiskTree clipboard to be pasted, via a sub-menu. The submenu options can include:
- Node as child: Pastes one or more nodes that have been copied or cut immediately beforehand, with the highest copied node becoming a child of the node where the paste operation is made.
- Node values: Opens the chosen node for editing, and applies all of the assessment values and evidence (but not the notes) onto it. Only available if a single end node is copied.
- Node children: Pastes the children of the copied node as children of the selected node. Only available if a set of nodes is copied (i.e., a node with children).
- Node countermeasures: Pastes the countermeasures of the copies node onto the selected node. Only available if a single node with countermeasures is copied.
- Node tags: Pastes the tags of the copies node onto the selected node. Only available if a single node with tags is copied.
Threats Z
Apply threat actors loaded into Designer onto the branch of the tree headed by the current node. Learn more…
Move node
Allows you to move the node within the tree (via the sub-menu that opens). This is so that you can rearrange a tree, perhaps to make it consistent with other trees.
- CTRL + 🡄 Far left: Moves the node to become the first child of its parent
- SHIFT + 🡄 Left: Swaps the node with the node to its left
- SHIFT + 🡆 Right: Swaps the node with the node to its right
- CTRL + 🡆 Far right: Moves the node to become the last child of its parent
- /Elsewhere: Repositions a node or a branch anywhere else in the tree by selecting the new parent node for it. Learn more….
- 🡇 down a level: Drops the current node down one level within the tree, creating a new node in its original position, and then prompts for the name of this new node. Learn more….
Highlight children
Puts a highlighted border around all nodes that are children of the current node. To clear the highlights, select Clear highlighted borders from the Identify and Assess menu.
Highlight path
Highlights the current node, all of its children, and its ancestor nodes, together with the connections between them. To clear the highlights, select Clear highlighted borders from the Identify and Assess menu.
Delete node DEL
Deletes the chosen node and all child nodes.
Hide/show node H
Hide node will remove all child nodes from the display, and the node itself will turn pale grey. The branch still exists, but is hidden to make the display tidier. Click Show node on the menu to make the child nodes reappear. NB: hidden nodes and branches will not be included in the risk calculations.
Show all
This only appears on the root node (the bad outcome). This will cause the entire RiskTree (all nodes) to be shown.
Keyboard shortcuts
Keyboard shortcuts are available for many of the menu options. These are shown in grey with a dotted border in the node menu, and can be revealed by clicking on the icon at the bottom.